

Grimy shower tiles ruin a clean bathroom fast, but the fix is simpler than upgrading to warm white lighting.
This guide breaks down how to clean shower tiles the right way, using safe products for ceramic, porcelain, glass, and natural stone without wasting your Saturday morning.
You’ll learn which tools work best, how long to let cleaner sit before scrubbing, and which methods protect grout instead of damaging it over time with repeated exposure to harsh acidic chemicals and moisture buildup daily.
Start with warm water to soften soap scum and mineral buildup, then apply a pH-neutral cleaner across the tile surface and let it sit for a few minutes before you touch a brush, since contact time matters more than muscle.
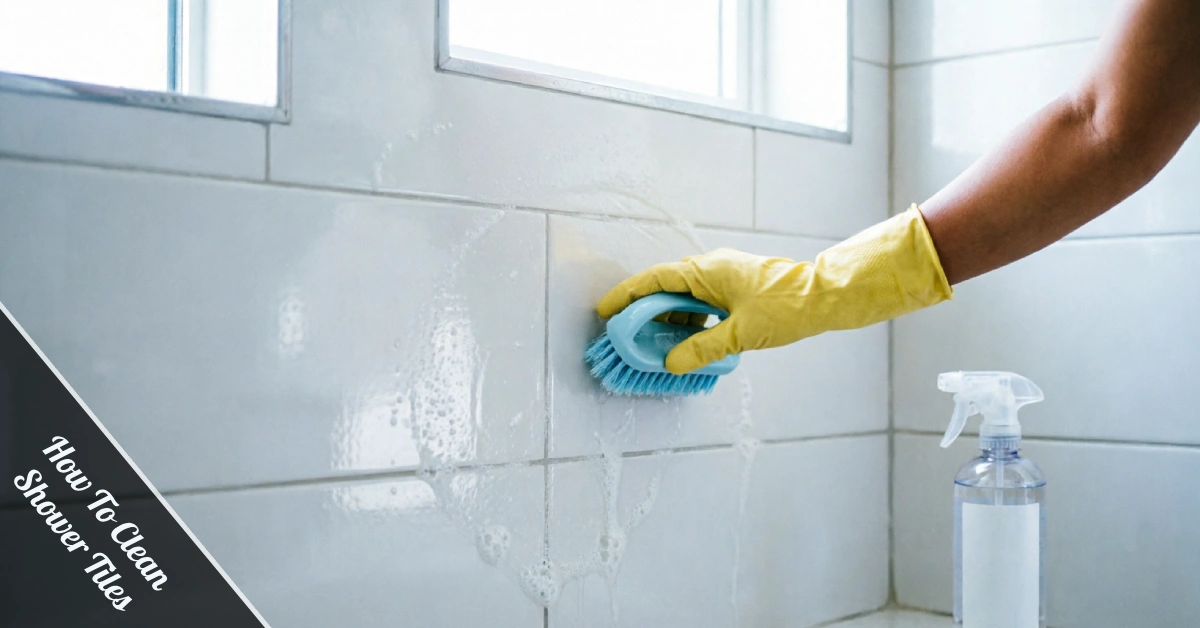
Scrub gently with a soft nylon brush or microfiber sponge, working in small circles across every tile until the surface feels clean.
Rinse thoroughly with warm water, then squeegee the walls so water spots do not form.
Dry the tiles with a towel if you want extra shine, then move on to grout lines and corners where grime tends to collect fastest, especially near the shower floor and drain area.
Know Your Tile Before You Start
Not every shower tile handles cleaners the same way, so identifying yours first saves you from ruining a finish you actually like and paid good money for recently, too.
Ceramic and porcelain tiles are the toughest and handle most cleaners, including mild vinegar, well.
Glass tiles look great but scratch easily, so stick with soft cloths and a gentle cleaner every single time.
Natural stone, including marble, limestone, travertine, and slate, reacts badly to acidic cleaners like vinegar or lemon juice, which can etch and permanently dull the surface finish.
Always test a new cleaner in a hidden corner first, since every stone and tile reacts a little differently depending on age, sealant condition, and how often the surface gets scrubbed with strong products regularly, too.
Wait a few minutes, then check for dullness, discoloration, or a rough texture change before you clean the rest of the shower with the same product, since small warning signs now can save you from a costly repair much later on.
The Natural Stone Institute recommends stone-specific, pH-neutral cleaners for marble and similar surfaces to protect the polish over time.
| Tile Type | Safe Cleaner | Avoid |
|---|---|---|
| Ceramic / Porcelain | White vinegar, pH-neutral spray | Abrasive pads |
| Glass | Non-abrasive, mild soap | Grit, scouring pads |
| Marble / Limestone / Travertine | Stone-specific pH-neutral cleaner | Vinegar, lemon juice, bleach |
| Slate | Stone-specific pH-neutral cleaner | Acidic cleaners |
Supplies That Make The Job Easier
A basic supply kit keeps the whole job quick and prevents last-minute searching around.
Grab a pH-neutral tile cleaner, white vinegar, baking soda, a soft nylon brush, a microfiber cloth, a squeegee, and rubber gloves before you start cleaning anything in the bathroom today at all.
Skip anything labeled abrasive, since scouring powders and rough pads scratch glazes and dull natural stone permanently, even after just one or two uses on a delicate surface.
If mold is a recurring problem, keep hydrogen peroxide on hand for quick, easy use.
Good ventilation matters here, since a stuffy bathroom traps moisture and lingering fumes long after you finish cleaning up.
Open a window or run the exhaust fan while you clean, especially when mixing vinegar with anything else, since fumes always build up fast in tight spaces.
Never mix cleaning products, even ones that seem harmless on their own, because some combinations release gases that irritate your lungs and eyes within minutes, especially inside a small bathroom with poor airflow and no window.
How To Clean Shower Tiles Step By Step
The best way to clean shower tiles starts right after a hot shower, while steam has already loosened the grime for you, making the entire process faster and easier than tackling cold, hardened buildup later in the day or the next.
Spray your chosen cleaner evenly across the tile surface, starting from the top and working down toward the floor for even coverage.
Let the cleaner sit for three to five minutes before you pick up a brush.
This contact time softens soap scum and mineral deposits so you barely need to scrub, saving your arms the way fixing a flickering light issue saves you from bigger repairs down the road.
Scrub in small circular motions using a soft brush, paying extra attention to grout lines, corners, and the areas around fixtures where soap and hard water collect the most.
Rinse everything with warm water from top to bottom, then squeegee the walls right away.
Wipe down the squeegee and hang it up, so it stays ready for your next quick after-shower rinse.
Try Vinegar And Other Natural Cleaners
White vinegar works well on ceramic and porcelain tiles, cutting through soap scum and light mineral deposits without harsh chemical fumes filling your bathroom space entirely today.
Mix equal parts white vinegar and warm water in a spray bottle, apply it to the tile, and let it sit for about ten minutes before rinsing thoroughly with clean, cool water afterward every single time.
Skip vinegar entirely on natural stone tiles, since the acid etches marble, limestone, and travertine, leaving dull patches that no amount of scrubbing can fix, and a professional stone restoration afterward often costs much more than any cleaner ever would again.
For a gentler natural option, make a paste from baking soda and water, then apply it directly to problem spots each time.
Spread the paste over stubborn stains, let it sit for fifteen minutes, then scrub lightly.
Hydrogen peroxide handles musty, mildew-like spots and light mold without the strong smell of bleach, making it a solid pick for smaller bathrooms with limited airflow and ventilation and tight space overall.
Natural methods take a little longer than commercial sprays, but they cost less and skip the strong fumes that linger in a bathroom for hours after cleaning each time.
Handle Soap Scum, Stains, And Grout
Soap scum builds up from a mix of body oils, dirt, and soap residue over time.
A pH-neutral cleaner combined with a soft brush removes most soap scum within just a few minutes flat.
Hard water marks respond well to vinegar on ceramic and porcelain, but always use a stone-specific cleaner on marble, limestone, or any natural stone surface instead.
Rust stains need a different approach entirely, since they usually come from old pipes, metal fixtures, or hard water minerals reacting with iron, and regular tile cleaners alone rarely lift them without extra help at all.
A paste of baking soda and a small amount of hydrogen peroxide lifts light rust without scratching the tile, though stubborn rust may need a specialty rust remover made for bathroom surfaces, which most hardware stores stock right in the aisle.
Grout absorbs dirt and moisture more than tile does, so clean it with a soft brush and mild detergent solution every week.
If grout cracks appear, fix them early before moisture seeps underneath and causes bigger problems.
Stop Mold And Keep Tiles Cleaner Longer
Mold and mildew thrive in warm, damp bathrooms, especially where ventilation is poor, and moisture lingers on tile and grout for hours after every single shower throughout the year and every season, too.
Hydrogen peroxide or a dedicated mold cleaner works best here, applied directly to affected grout lines and left to sit before scrubbing gently with a soft brush and rinsing.
The EPA recommends controlling moisture and improving ventilation as the most reliable prevention methods overall.
Run your exhaust fan for twenty minutes after every shower, or crack a window instead if you have one.
Squeegee your tiles after each shower to cut down on standing water, which is one of the simplest habits that keep mold and water spots away completely.
Once your bathroom looks sharp again, small fixes like patching an old wall hole or swapping out a cracked switch plate can round out the refresh without much extra time, effort, or cost involved at all.
Knowing how to clean shower tiles the right way, matched with the correct products for your surface, keeps your bathroom looking fresh with far less weekly effort, giving you more free time every single weekend to enjoy instead of scrubbing again.