

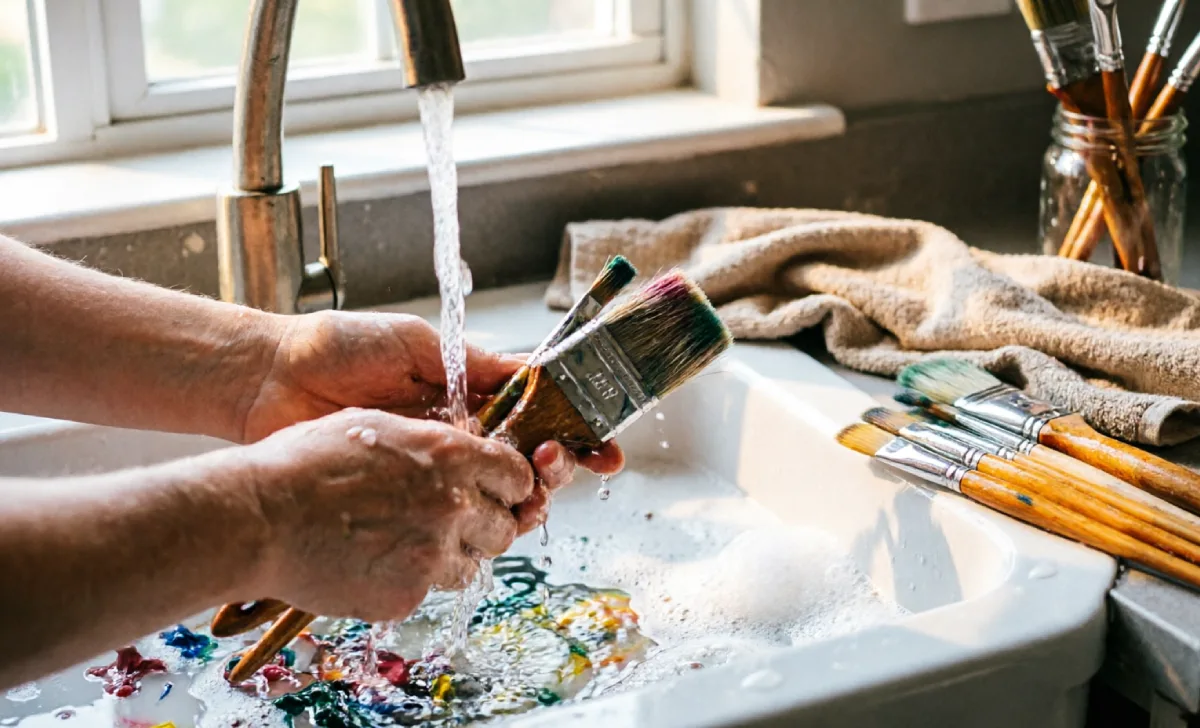
You just wrapped up a paint job, and your brush looks like a crime scene. Here’s the truth: knowing how to clean paint brushes properly is the difference between one brush that lasts years and five brushes you keep tossing in the bin. If you’ve ever wondered how long a fresh coat needs before you can even think about drying and cleanup, you already know timing matters here too. This guide breaks it down step by step, no fluff, just what works.
Quick Guide: How to Clean Paint Brushes
Short on time? Here’s the fast version. Scrape off excess paint first. Rinse or soak in the right solvent for your paint type. Work soap or cleaner through the bristles with your fingers. Rinse until the water runs clear. Reshape the bristles, then let the brush dry flat or hanging.
That’s the whole cheat code. The details below explain why each step matters and where people usually mess it up.
Know Your Paint Before You Clean
Not all paints clean the same way, and this is where most people go wrong. Water-based paints like latex and acrylic wash out with soap and water. Oil-based paints require a solvent such as mineral spirits or white spirit. Mixing up the method wastes your brush and your time.
Check the label if you’re not sure. Latex and acrylic tins usually say “water-based” or “water cleanup” right on the can. Oil paints, enamels, and some specialty finishes will call for solvent cleanup instead. Get this step right and everything after it gets easier.
There’s also a timing factor most guides skip. Fast-drying paints and sprays start setting within minutes, so the window for easy cleanup closes fast. That’s part of why learning how to clean paint brushes properly means acting quickly, not waiting until the end of the day to deal with the mess.
What You’ll Need
Before you start scrubbing, gather a few basics. You don’t need anything fancy here. Most of this probably lives in your kitchen or garage already, which is one of the reasons how to clean paint brushes correctly rarely costs you anything extra.
- Warm water or the correct solvent for your paint type
- Mild dish soap
- An old container or jar
- A brush comb or old fork
- Paper towels or an old rag
That’s it. No special gadgets, no overpriced brush-cleaning kits. Just the right tools for the job in front of you.
How to Clean Water-Based Paint Brushes
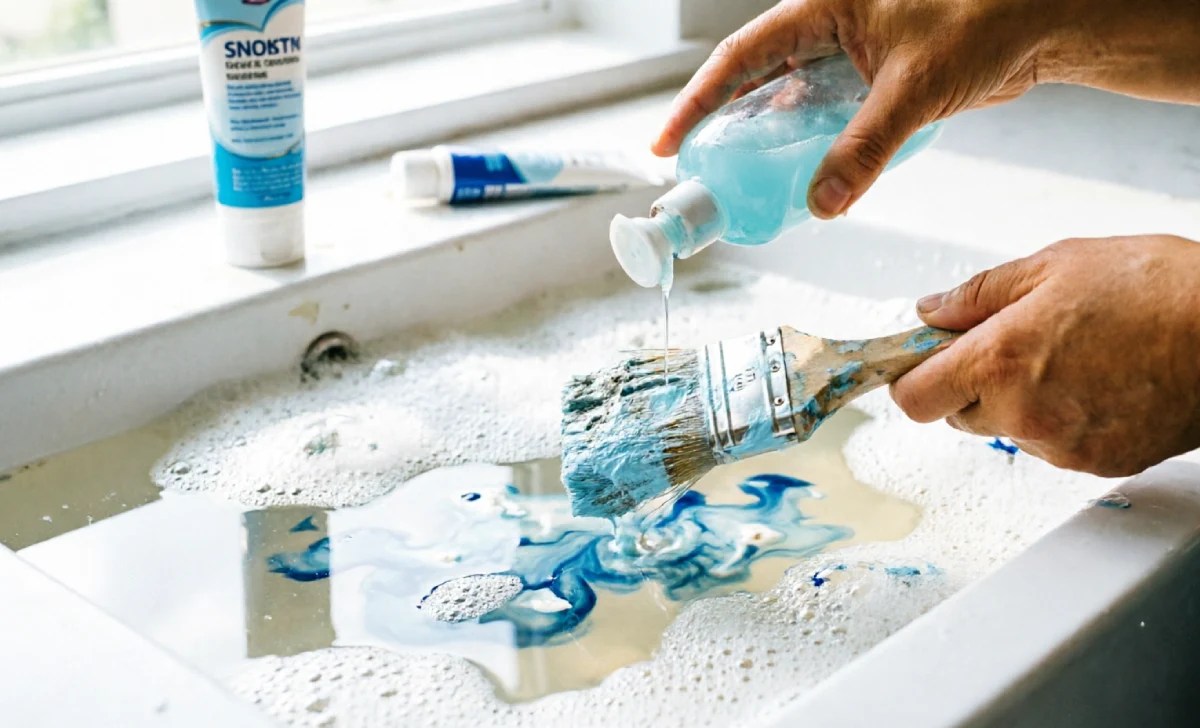
This is the easiest version of how to clean paint brushes, and it’s the one you’ll use most often. Run the brush under warm water first to loosen the surface paint. Then work a small amount of dish soap into the bristles with your fingers, right up near the ferrule where paint likes to hide.
Rinse and repeat until the water runs clear instead of colored. This usually takes two or three rounds for a brush that’s seen a full painting session. Squeeze out the excess water gently with a rag rather than wringing the bristles hard.
If you painted trim, walls, or furniture with latex, this method handles it every time. It also works for most acrylic craft brushes, including small ones used for detail work.
Painters working on interior walls often ask if this process changes room to room. It doesn’t. Whether you’re covering a bedroom wall or a bathroom ceiling, water-based cleanup stays the same throughout.
How to Clean Oil-Based Paint Brushes
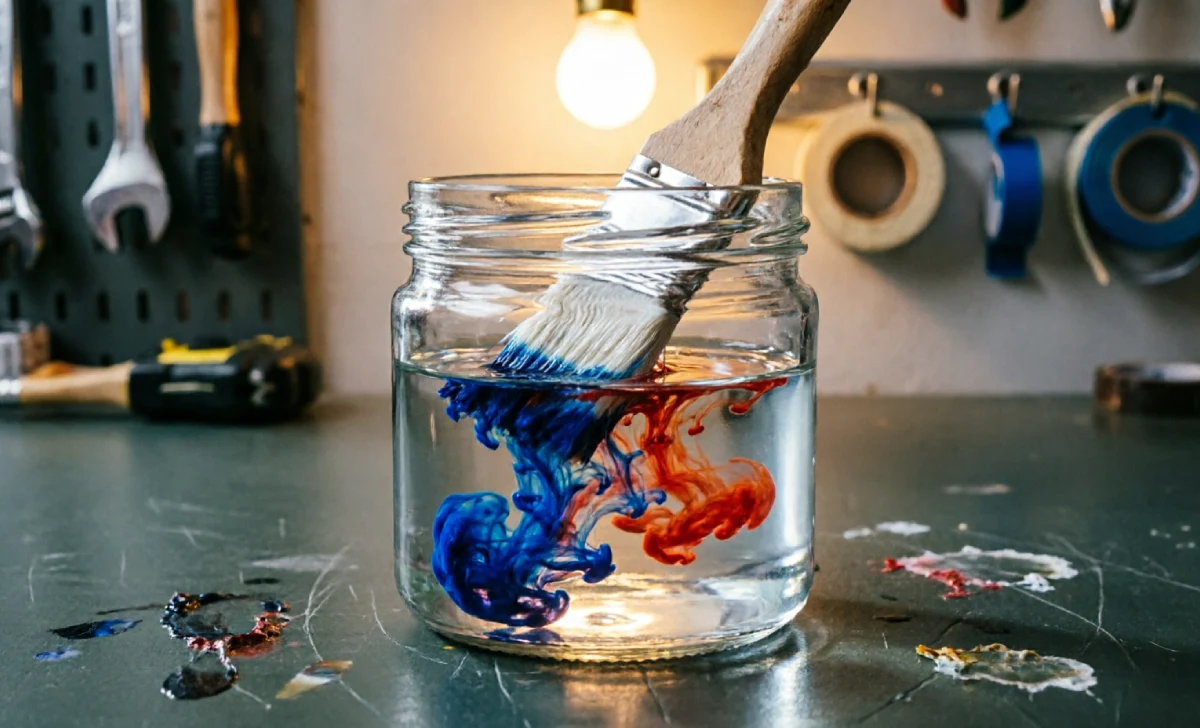
Oil paint needs a solvent, full stop. Pour mineral spirits or white spirit into a jar, then swirl the brush around for thirty to sixty seconds. Press the bristles gently against the jar’s sides to push paint out.
Wipe the brush on a rag, then repeat with fresh solvent until it stays clean. Finish with a warm soapy rinse to strip any leftover residue. This final soap step keeps bristles soft instead of stiff and brittle.
Work in a ventilated space when you’re handling solvents. Open a window, turn on a fan, or move outside if you can. Solvent fumes build up fast in a closed garage or shed, and that’s not a shortcut worth taking.
Anyone tackling exterior masonry work knows the stakes are higher with tougher coatings. If you’ve used anything like exterior masonry coating on a project, don’t skip the solvent step. These heavier-duty paints cling to bristles hard, and soap alone won’t cut it.
Environmentally Friendly Cleaning Methods
Solvents work, but they’re not the only option, and they’re not always necessary. Water-based paints never need chemical solvents at all, just soap and water. That alone cuts down your environmental footprint significantly.
For oil paints, look into eco-friendly cleaners made from citrus or soy. They break down paint just as well as traditional solvents in most cases. Always let leftover solvent settle in a sealed jar, then reuse the clear liquid on top next time instead of tossing it.
Reshape, Dry, and Store Your Brushes
Once your brush is clean, reshape the bristles back into their original point or edge using your fingers. This step gets skipped constantly, and it’s why so many brushes end up frayed and useless after a few uses.
Lay the brush flat to dry, or hang it bristle-down if you have a pegboard setup. Never stand a wet brush upright in a jar. Water pools at the ferrule, loosens the glue, and shortens the brush’s life fast.
Store dry brushes flat in a drawer or hanging in a toolbox. Keep them away from dust and direct sunlight. A little care here means your favorite brush sticks around for the next ten projects instead of three.
If you own a brush you actually love, wrapping the bristles in paper before storage adds extra protection. This keeps the shape locked in between projects and stops bristles from splaying out. It’s a small habit that pros swear by, and it costs nothing beyond a spare sheet of paper.
Common Mistakes to Avoid
A few habits ruin brushes faster than anything else. Letting paint dry on the bristles is the biggest one. Once paint hardens, you’re looking at a stiff, ruined brush that no amount of soaking will fully save.
Using the wrong cleaner is another classic mistake. Soap and water won’t touch dried oil paint, and solvent is overkill for a quick latex touch-up. Match the cleaner to the paint every single time.
Skipping the rinse step is a smaller mistake with big consequences. Leftover soap residue makes bristles gummy and affects your next coat’s finish. Always rinse until the water runs completely clear before calling it done.
Cramming a wet brush into a drawer is another one worth mentioning. Bristles need airflow to dry fully, and a closed space traps moisture against the ferrule. That trapped moisture is exactly what causes rust and glue breakdown over time.
Buying cheap solvent and expecting top results is a mistake too. Quality mineral spirits cost a little more but cut through oil paint faster and leave less residue behind. Spending a bit extra here saves your brushes in the long run.
FAQs
Can I clean paint brushes in the sink?
Yes, for water-based paints. For oil-based paints, use a jar with solvent first, then finish with a sink rinse using soap.
How often should I clean my brushes?
Right after every use, ideally within the same day. Waiting even overnight makes cleaning much harder.
What if paint has already dried on the brush?
Soak it in warm soapy water or solvent for an hour, then work through the bristles with a comb. Some paint may not fully release.
Do expensive brushes need different cleaning?
Not really. The paint type decides the method, not the brush’s price tag. A high-end brush just rewards good habits with a longer lifespan.
Conclusion
Getting how to clean paint brushes right doesn’t take long once it’s a habit. Whether you’re finishing indoor trim or using outdoor paint on an inside project, the same core rules apply: match your cleaner to your paint, rinse thoroughly, and always store brushes dry. Do this every time, and your brushes will outlast most of your paint cans.