

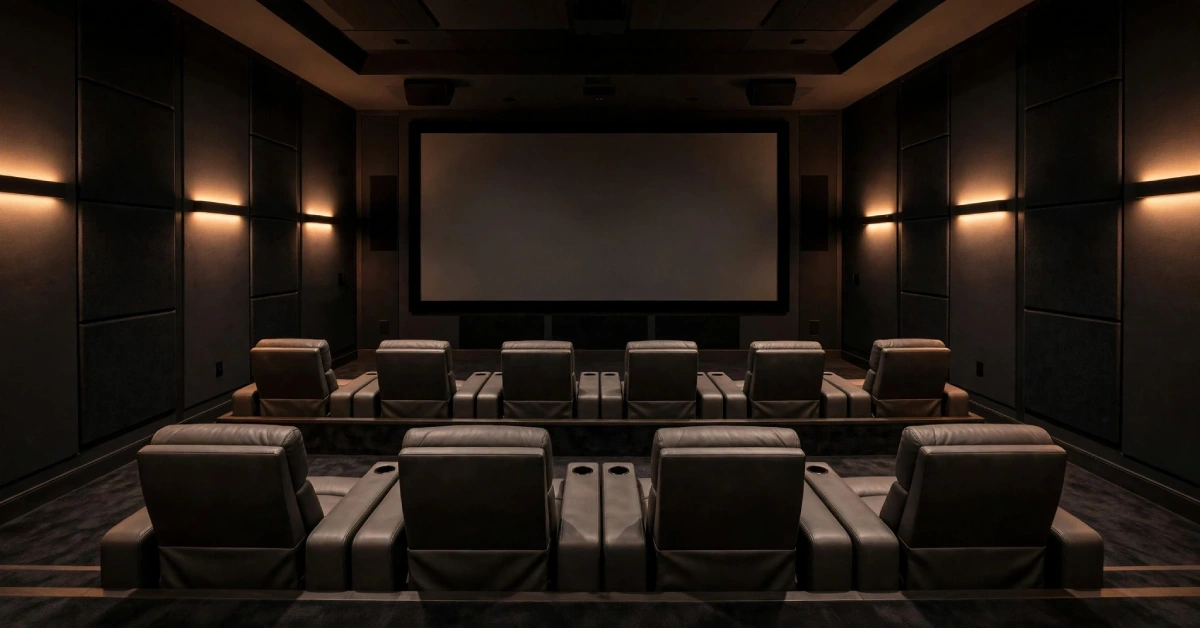
A dedicated home theatre room changes the way you watch films, live sport, and long series. Most of the difference comes from details people rarely measure, such as the distance between the sofa and the screen or the height of the speakers. Planning these details before construction costs far less than correcting them afterward.
Interest in home theatres is growing. According to Grand View Research, as reported by EliteHTS in 2026, the global home theatre market was valued at USD 12.36 billion in 2024 and is projected to reach nearly USD 20 billion by 2030.
This guide follows the order of decisions that matter most, from choosing the room to testing sound and picture before you finish the walls.
Pick the Right Room for Your Theatre
Choose a space away from busy parts of the house. Basements and interior rooms usually keep sound contained better than rooms beside kitchens or living areas. Rectangular rooms also tend to produce more even bass than square rooms, because square proportions can create strong peaks at certain frequencies.
Measure the space before you commit to any equipment. A 10 by 12 foot room can hold a compact single row, but it leaves little room for seating and speakers. A 15 by 20 foot room gives you space for a front row and a riser-mounted back row without crowding the furniture.
Check these points before you buy anything:
- Note where doors, windows, and air vents sit, since each one affects both light and sound leakage.
- Plan power outlets and cable routes early, because running wire after drywall costs much more.
- Confirm that the floor can support recliners, a riser, and rack equipment.
Insulation matters as much as shape. Fill the walls and ceiling with mineral wool, and consider resilient channels or a second layer of drywall to reduce noise passing into adjoining rooms. This work is easiest while the walls are still open.
Plan the Build Order
A home theatre build goes more smoothly when the steps happen in the right sequence. Changing an earlier decision late usually means tearing out finished work.
- Confirm the room size, ceiling height, and entry points.
- Sketch the seating layout and calculate the screen size from the front row.
- Decide on the riser height and the ceiling height it requires.
- Complete wiring, speaker cable, and any in-ceiling speaker rough-in.
- Add insulation and acoustic framing, then install the drywall.
- Apply the final finishes, including paint, flooring, and lighting.
- Install the equipment, calibrate it, and make final adjustments.
Set Your Screen Size From the Seat
Start with the seat, then choose the screen. Viewing angle describes how much of your field of vision the screen fills, and it matters more than the diagonal number on the box. Sound and Vision’s screen size guidance describes the SMPTE maximum recommended viewing angle as 30 degrees and the THX recommended angle as 36 degrees. Some older THX material cites 40 degrees, so confirm which standard you are following before you finalise measurements.
Here is a working example. At a seating distance of 7 feet, a 16:9 screen of about 63 inches diagonal matches the 36 degree THX angle, while a screen of about 52 inches matches the 30-degree SMPTE angle. At 10 feet, the same two standards point to a screen of roughly 74 to 90 inches. A larger screen pushes the seats further back, so room length and screen size should be decided together.
Projector or television is the next question. Smaller screens are often well served by a quality television. Screens above roughly 85 inches generally favour a projector, which can produce a large, bright image in a darkened room.
Plan Ceiling Height and Riser Layout
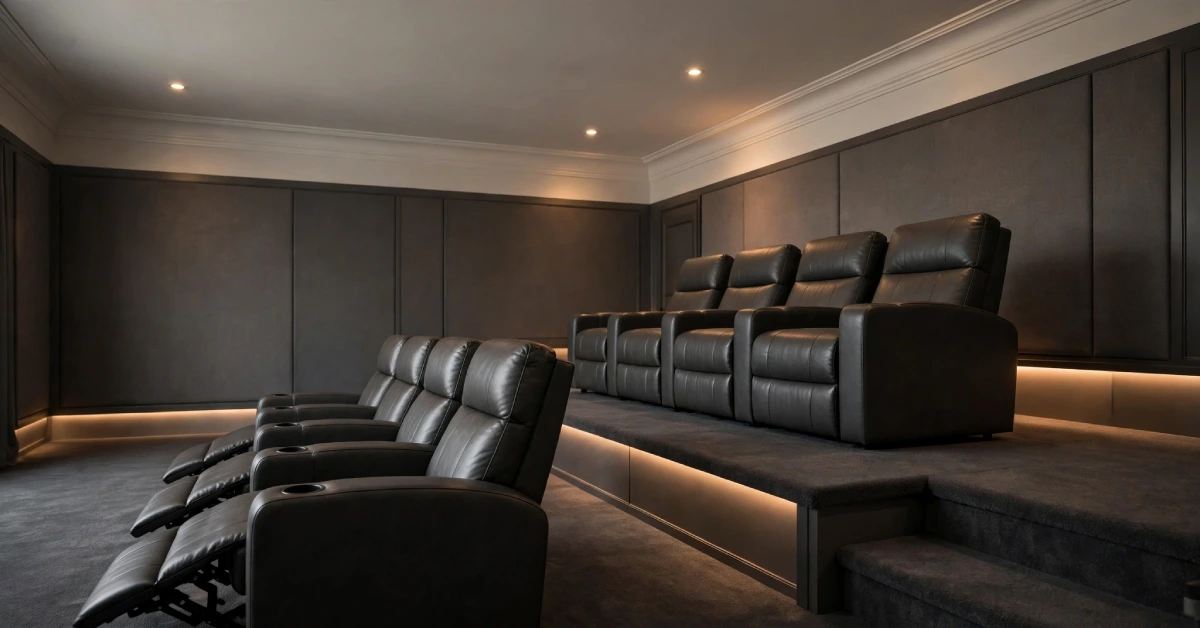
Ceiling height limits both screen size and speaker options. Homestyler’s design guidance suggests about 8 to 9 feet, which leaves room for overhead speakers without overwhelming the room acoustically. Block Renovation notes that an 8-foot finished ceiling works for many home theatres, but a raised second row needs more headroom.
If you plan two rows, measure from the top of the riser rather than the floor. Rear viewers keep clear sightlines only when the riser lifts them above the heads in front of them. Seatcraft suggests 9 to 10 feet for dedicated theatres, which offers better acoustics and more flexibility for speaker placement.
Decorative details can frame the room without reducing headroom. Our classical architecture guide explains how mouldings and proportions can add character to a finished space, and a restrained ceiling detail suits a theatre better than heavy trim.
Lay Out Seating for Comfort and Sightlines
Seating sets the room depth, and room depth sets the screen position. Measure each recliner in its reclined position, not upright, because that footprint is what you will live with every day. Leave enough space behind the back row to walk past the seats without squeezing.
Use these guidelines when you sketch the layout:
- Place the front row at the seating distance calculated from your screen size.
- Raise the back row on a riser so every seat clears the heads in front.
- Centre the main seat on the room’s central axis so the sound and picture line up.
Recliners and sofas usually need more width than standard furniture, so allow extra space at each end of a row. Choose seats with a similar profile across the room, so that the sightline from every seat stays consistent. Mixing very different seat heights often leaves some viewers staring at the back of someone’s head.
Position Speakers for Balanced Sound
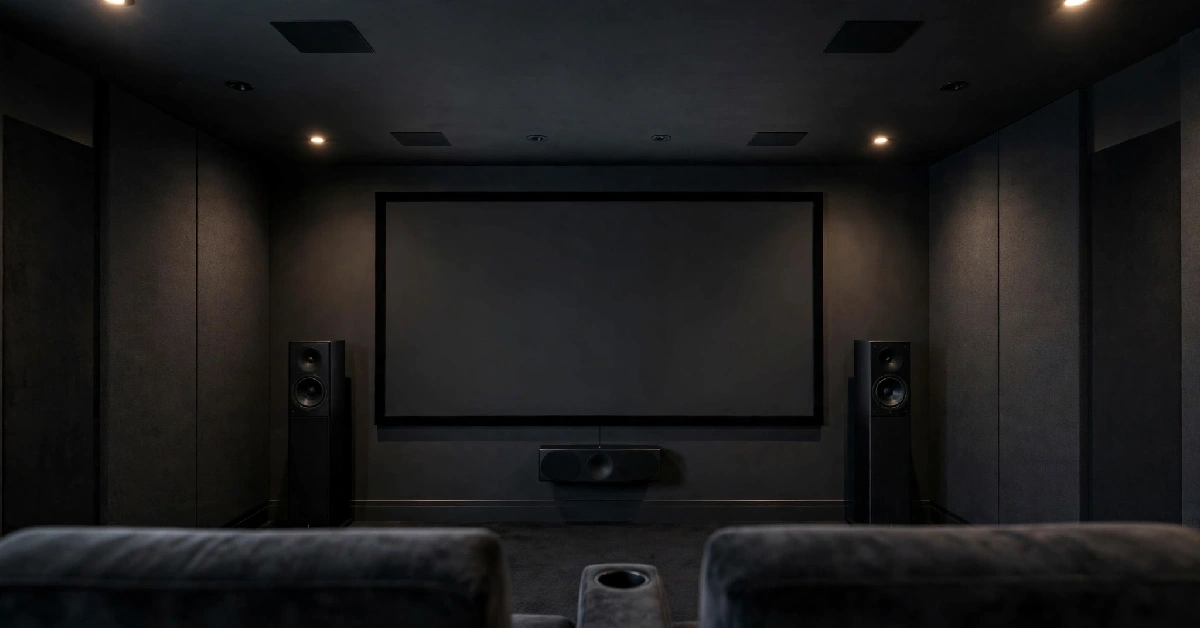
Speaker placement shapes how dialogue and effects reach the listener. Dolby’s home theatre setup guidance recommends arranging speakers so that each pair forms a triangle with the listening position, which keeps the sound balanced across the seats. Place the centre speaker at screen height, centred below the image, and angle the front left and right speakers toward the main seat.
Immersive audio adds height channels, and these need planning. In-wall and in-ceiling speakers keep the floor clear and suit a dedicated room, but they must be specified before the walls are closed. AiSAV’s setup guide makes the same point about retrofits, which become harder and more costly once drywall is finished.
Place the subwoofer where bass sounds smoothest at the main seat. This often means moving it around the seating area and listening before you fix it in place. Small adjustments to position can change bass response more than a larger purchase.
Control Acoustics and Lighting for Cinema Quality
Hard surfaces reflect sound and blur dialogue. Add absorptive panels at the side wall and ceiling points where sound first bounces from the speakers to the main seat. Corner bass traps help control low frequencies that build up in room corners. Carpet, upholstered seats, and heavy curtains also reduce echo without much effort.
Light affects contrast as much as sound affects clarity. Choose matte, dark wall and ceiling finishes so reflections stay low. Use dimmable, low-level lighting along walls and steps, and keep the screen as the brightest element in the room. For automated lights and connected controls, our smart home security guide covers practical options that work well alongside a theatre system.
Test the Room Before Final Finishes
Test the room before you close off the last surfaces. Play a range of films, music, and spoken dialogue while you listen from the main seat. A sound level meter helps you balance the channels, and a calibration disc or the setup menu in your processor can guide the rest. Check picture brightness during the day and at night, since window light and ambient light change the result.
Testing early is the cheapest insurance you can buy. Problems with reflections or bass build-up are much easier to fix with panels or furniture placement than with changes to a finished wall. Record your settings so you can repeat them after equipment upgrades.
FAQs
How big should a home theatre room be?
A 15 by 20 foot room suits a two-row layout with a riser. A 10 by 12 foot room works for a single row with a compact screen. Measure your seating first, because the seats decide how much floor space the room needs.
What ceiling height do I need?
Eight feet works for a single row. Nine to ten feet gives room for a riser, overhead speakers, and better acoustics, especially in a two-row room.
Should I choose a projector or a television?
Smaller screens are often well served by a quality television. Screens above roughly 85 inches generally favour a projector, which can create a large image in a darkened room.
How far should I sit from the screen?
Aim for a viewing angle between 30 and 36 degrees. At a 10-foot distance, that means a screen of roughly 74 to 90 inches diagonal.