

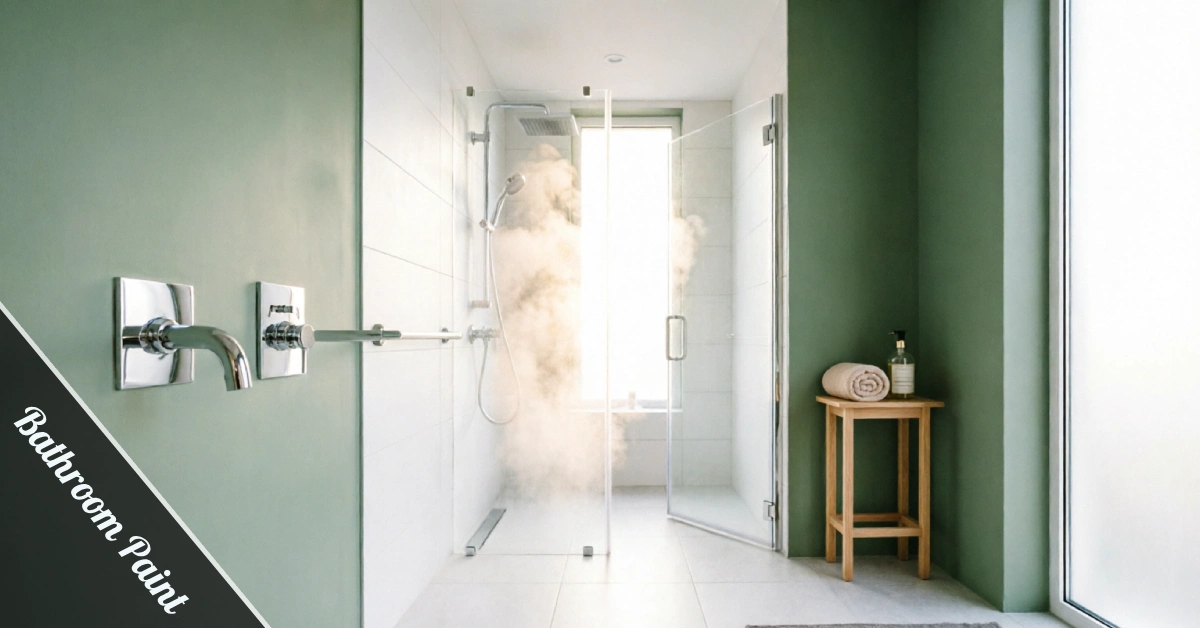
Steam fogs the mirror, water hits the walls, and soap scum builds up fast in every bathroom you own. Regular wall paint just can’t keep up with that kind of daily beating, and most homeowners only notice the difference after peeling starts near the tub or ceiling corners.
Bathroom paint uses tighter chemistry built to shrug off water instead of soaking it in like a sponge.
Uneven coverage is usually the first clue that a coat was never meant for a steamy room, and it shows up fast near the tub or shower stall where moisture lingers the longest and gets absorbed straight into thirsty, unprepared drywall.
That’s the whole point of this guide. You want a finish that survives steam, keeps mildew away, and looks fresh long after the first shower runs, without constant repainting or costly patch jobs every single season.
This walkthrough covers picking, prepping, and applying bathroom paint the smart way, step by step, so your next project actually holds up.
Picking the Right Finish for Steamy Rooms
Finish matters more than color once you’re actually painting inside a working bathroom every day.
Satin and semi-gloss both shed water well, but semi-gloss wipes clean fastest right after a hot shower session.
Flat and matte paint looks soft and modern, yet both trap moisture inside their tiny surface pores over time, which invites mildew.
If your bathroom has a strong fan and steady airflow, matte paint can survive there just fine.
Most rooms without solid ventilation do far better with satin or semi-gloss on the walls instead, since it wipes clean and resists staining, and holds up through years of daily steam without peeling, bubbling, or fading near the tub.
Test a small sample patch near the shower before committing to a full gallon purchase.
Moisture and Mold Resistance Matters Most
Mold doesn’t care how nice your color palette looks on a paint chip.
It just needs damp drywall, warm air, and a little time to spread across your ceiling and walls.
Paints built specifically for bathrooms include additives that stop mildew spores from ever taking hold, which saves you scrubbing black spots later and protects your investment.
Look for labels that mention mold and mildew resistance directly on the can before you buy.
Cheaper paints skip this step entirely, and you’ll notice dark spots creeping in near the tub within the first year of ownership, no matter how carefully you applied the coat or how many hours you spent prepping the surface beforehand. A small upfront cost difference at the store often turns into a much bigger repainting bill down the road.
Ventilation still matters even with the best bathroom paint money can buy.
Prepping Your Walls Before You Paint
Skipping prep work is the fastest way to waste good bathroom paint on a bad surface.
Wash the walls first with a mild cleaner to strip away soap residue, body oil, and dust buildup.
Sand any glossy old paint lightly so the fresh coat actually grips instead of sliding right off within weeks, causing peeling near seams and corners where moisture collects most and drywall stays damp longest.
Patch cracks and nail holes, then let the filler cure fully before you sand it smooth.
A stain-blocking primer is worth the extra hour, especially over old water stains or previous renovation work that left rough, uneven patches behind, since skipping this step often means blotchy color and early peeling within just a few months of finishing the job.
Tape off trim and fixtures so your lines stay crisp once rolling starts, and pull it up while the final coat is still slightly tacky for the cleanest edge possible.
Color Choices That Make Small Bathrooms Pop
Light colors bounce sunlight around a room and make cramped bathrooms feel roomier instantly.
Soft white, pale sage, and dusty blue are safe picks that photograph well and pair nicely.
Darker tones work too, but only when strong lighting backs them up properly in the room.
A deep charcoal wall can feel like a boutique hotel, or just a cave, depending entirely on your fixtures, mirrors, and how much natural light actually reaches that particular corner of the room each day.
Test swatches morning and night before locking in your final bathroom paint pick for good, since bathroom lighting shifts more than any other room in the house across a single day.
Application Tips for a Smooth Finish
Roll paint in a loose W pattern, then fill it in evenly without overworking the roller.
Thin, even coats beat one thick, gloppy layer every single time in a small room.
Cut in corners with an angled brush first, then blend the wet edges quickly before they dry.
Two coats almost always beat one, even when the can promises full coverage in a single easy pass.
Rushing this step is exactly where most home painters lose the fight against drips, and the results show up fast as streaks, thin patches, and uneven sheen once the whole wall finally dries under bathroom lighting.
Keep a damp rag close by for catching quick, unexpected drips, especially around the tub edge and baseboard where paint tends to pool.
Drying Time and Common Mistakes to Skip
Bathroom paint needs real airflow to cure properly, not just look dry to the touch.
Run the exhaust fan for a full day after painting, and skip hot showers if possible.
Steam hitting the wall too early can soften a fresh coat and undo weeks of careful planning, prepping, and painstaking brushwork around trim, corners, and fixtures you worked hard to protect.
Painting straight over damp drywall is the single biggest mistake most homeowners make.
Always confirm the surface reads bone dry before rolling on that all-important first coat of paint.
Rushing the schedule almost always costs you a frustrating redo within just a few short weeks, so build extra drying days into your plan from the very start.
Keeping Your Bathroom Paint Looking Fresh
A little upkeep stretches the life of any paint job by years, not just months.
Wipe walls monthly using a soft cloth and mild soap to stop grime from building up.
Fix small chips right away, before moisture sneaks into the exposed drywall hiding underneath the surface, since even a tiny gap can let steam creep in and start the whole mildew problem all over again within a matter of weeks.
Keep your fan running during and after every single shower you take, and crack a window whenever the weather allows for extra drying help.
If you’re weighing this project against other upgrades, this comparison of exterior versus interior work is worth a quick read. Bathroom paint rewards a little patience with years of clean, fresh walls.