

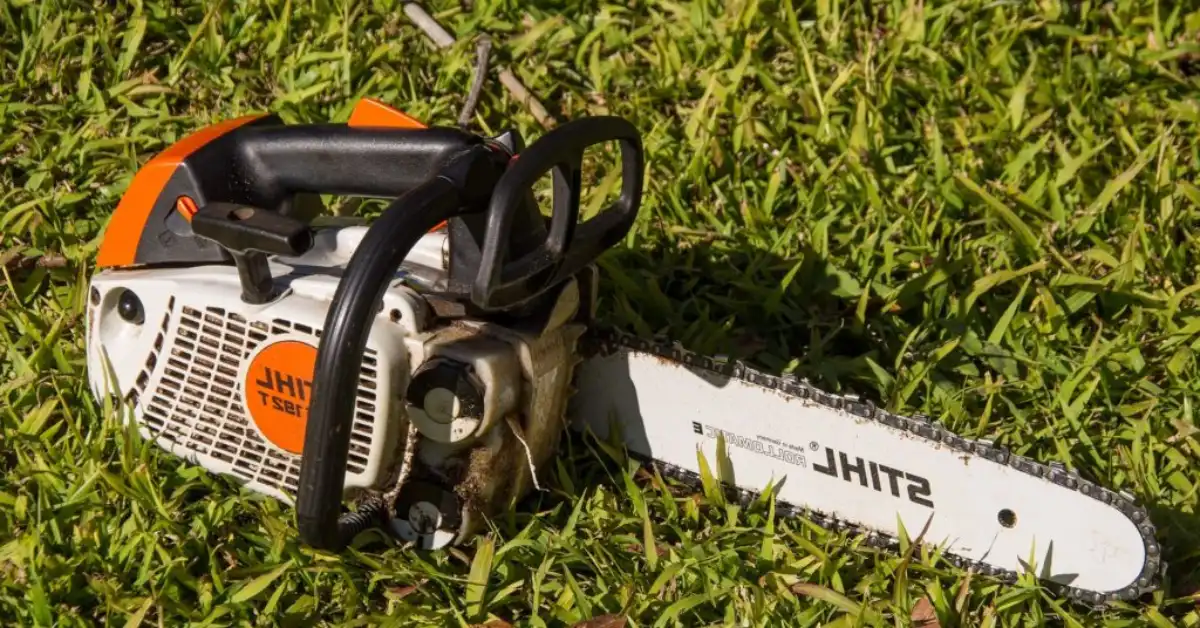
You’re out in the yard, ready to rip through some branches. You tilt your Stihl MS390, and bam—gas starts dripping like a leaky faucet. Not cool.
Gas leaks aren’t just annoying. They’re messy, they smell bad, and honestly? They’re dangerous. One spark near that puddle and you’ve got a real problem on your hands.
Here’s the deal: when your MS390 gas leak shows up during tilts, it’s usually pointing to a weak spot in your fuel system or a hidden air leak that’s messing with fuel delivery. It could be cracked lines, busted seals, a stuck needle valve, or even a worn impulse line. The good news? Most fixes are simple enough to handle yourself without dropping cash at a repair shop.
This guide breaks down why it happens, what to check, and how to patch it up. No fluff, no confusing jargon—just straight talk from someone who’s been elbow-deep in chainsaw guts more times than I’d like to admit.
Why Gas Leaks When You Tilt Your Chainsaw
Fuel inside your tank shifts when you tilt the tool. That’s normal physics doing its thing, but it exposes weak points fast.
Think of it like this: your fuel system has multiple seals, connections, and hoses working together. When everything’s tight and fresh, tilting doesn’t matter. But once something wears out—a cracked line, a dried-out grommet, or a stuck inlet needle—gravity pushes fuel right through that weak spot. That’s when you see drips.
Your MS390 wasn’t designed to leak. It’s telling you something needs attention, and ignoring it just makes things worse. Fuel eats through plastic and rubber over time, especially if you’re running ethanol gas. One small crack today becomes a bigger headache tomorrow.
The tilt test is actually your diagnostic cheat code. It reveals problems that stay hidden when the saw sits upright. Use it to your advantage.
The Real Dangers You’re Facing
Gasoline is ridiculously flammable. A small leak near hot engine parts or a stray spark can ignite faster than you think.
You’re also breathing in fumes every time that smell hits your nose. Headaches, dizziness, nausea—those aren’t just unpleasant. They’re your body telling you something’s off. Prolonged exposure messes with your respiratory system and can cause long-term health issues nobody wants to deal with later on.
Then there’s the environmental angle. Leaking fuel seeps into soil and groundwater. It kills grass, contaminates wells, and harms wildlife. Even small amounts add up when you’re storing or using equipment regularly outdoors without proper containment measures in place.
Your chainsaw’s performance tanks, too. Leaks mean less fuel reaching the engine, which causes rough idling, stalling, and weak power. You’ll burn through gas faster and wear out parts quicker. Fix it now or pay more later.
Common Spots Where Leaks Happen
Fuel lines crack and harden with age. Ethanol blends accelerate this process by breaking down rubber from the inside out over time. Check where the line connects to the tank and carburettor. Those connection points take stress every time you tilt or move the saw. Brittleness shows up as tiny surface cracks before full splits appear.
The rubber grommet (OEM part #1127 084 7400) sealing your fuel line into the tank is another usual suspect. It dries out, shrinks, and stops creating a tight seal. Fuel seeps past it when the tank’s tilted or full.
Your gas cap has a rubber gasket inside. If it’s compressed, cracked, or missing entirely, fuel escapes when you tip the saw. Sometimes the cap itself doesn’t thread properly anymore because the grooves are worn down from repeated use and exposure to fuel vapours. Carburettor issues are huge culprits. A stuck inlet needle valve inside the carburettor allows fuel to gravity-feed straight out of the carburettor when the engine is off—this is why you’ll come back to an empty tank after a few days. Likewise, a misadjusted metering lever can cause the same flooding effect. Wetness around the air filter housing points right to this.
The tank vent (OEM #1117 350 5800) keeps pressure balanced. When it clogs or fails, pressure forces fuel out through any available opening. Primer bulbs crack and harden too, leaking when pressed or when fuel sloshes against them during tilts.
Hidden air-leak parts matter just as much. A torn intakeboot/carburetorr boot (OEM #1127 141 2200) lets in extra air, boot/cacarburettorture and often causes fuel to puddle or weep at connections. The impulse line that sends crankcase pressure pulses to the carburettor pump can crack—if that fails, your saw won’t pull fuel properly, and the carburettor gaskets can leak as a result. Also check the carburettor valve and crankcase oil seals; if they leak air, the saw runs wild and fuel delivery goes haywire.
How to Spot the Problem (Pro-Level Diagnostics)
Start by filling your tank halfway and tilting the saw in different directions. Watch closely for drips or wet spots forming around components.
Check fuel lines first. Run your fingers along them, feeling for soft spots, cracks, or stiffness. Healthy lines feel flexible and smooth. Bad ones feel like old garden hoses—hard and brittle with visible surface damage that appears as small fissures or splits.
Inspect the grommet where the fuel line enters the tank. Look for gaps, shrinkage, or fuel stains around the seal. Pull gently on the line to see if it moves too easily inside the grommet opening.
Remove your gas cap and examine the rubber gasket. It should be soft, intact, and sit flat against the cap. If it’s compressed into a permanent groove or shows cracks, replacement is due.
Look at the carburettor and air filter area. Wetness here suggests carb issues. Check the primer bulb for cracks by squeezing it a few times while watching for fuel appearance on the surface or connections.
Now for the big guns—the pressure test (soapy water trick). This is the single best diagnostic move. Pressurise your fuel tank gently (with a hand pump or by car pressuring into the tank vent hose), then spray soapy water over every seam—fuel line grommet, tank vent, carburettor gasket, intake boot, impulse line connections, and carburettor level. Wherever bubbles form, that’s your leak. It’s cheap, it’s precise, and it finds cracks you’d never spot with your eyes alone.
Second pro test: the spray test. With the engine idling, spray a little carb cleaner or brake cleaner around the intake boot, cylinder base, and crankcase seals. If the engine RPM suddenly changes, you’ve found an air leak that’s affecting the fuel mixture—fix those seals or boots immediately.
Fixing Cracked or Brittle Fuel Lines
You’ll need a replacement fuel line rated for ethanol use. The OEM Stihl line is part #1127-358-7702 (suction) and #1127-358-7703 (return). A premium aftermarket alternative is Tygon fuel line—it’s specifically formulated to resist ethanol swelling and hardening, lasting much longer than standard rubber.
Drain your fuel tank completely first. Work outside in a ventilated area away from any ignition sources, open flames, or running engines nearby. Wear nitrile gloves to protect your skin from fuel contact during the repair process.
Disconnect the old fuel line from both the tank and carburettor ends. Note the routing path before removing it. Carburettor if needed.
Cut your new line to match the old one’s length. Attach it to the fuel filter first, then feed it through the grommet into the tank. Connect the other end to the carburettor inlet firmly.
Check all connections by pulling the carburettor line. It shouldn’t slide out or feel loose. Fill the tank and perform a tilt test and a pressure test immediately to confirm the MS390 gas leak is gone before putting the saw back into regular service.
Replacing Worn Grommets and Seals
The grommet (1127 084 7400) is that small rubber piece holding your fuel line in the tank opening. It’s cheap but critical for preventing leaks at this junction point.
Remove the fuel line from the tank. Pull out the old grommet using needle-nose pliers if it’s stuck. Clean the tank opening thoroughly to remove old fuel residue and debris.
Press the new grommet into place. It should fit snugly without gaps. Push the fuel line back through the centre of the grommet until it seats properly inside the tank; centre the filter, submerged.
Test the seal by tilting the saw and performing the soapy-water pressure test immediately after installation. No bubbles or drips should appear around the grommet area. If they do, the grommet might be the wrong size or not seated fully.
Gas Cap and Gasket Replacement
A faulty cap is one of the easiest fixes you’ll ever do. Seriously, it takes like two minutes and costs almost nothing to solve.
Unscrew your old gas cap and inspect the gasket. If it’s hard, cracked, or permanently compressed, toss it. Some caps have replaceable gaskets; others require buying the whole cap assembly. Check your model’s parts diagram to confirm which type you have before ordering.
Install the new cap or gasket. Make sure it threads smoothly and tightens fully without cross-threading. An improperly seated cap will leak regardless of gasket condition.
Fill your tank and tilt the saw aggressively in multiple directions. The cap should hold tight with zero seepage. If fuel still escapes, double-check the threading or consider whether the tank neck itself is damaged.
Dealing with Carburettor Leaks (Needle Valve & Metering Lever)
Carburettor technical fast. If you’re not comfortaCarburettorg into small engine carbs, this is where you call in a pro or watch detailed video tutorials first.
A flooded carb happens when the inlet needle valve sticks open or the metering lever height is set too high. Fuel fills the bowl, overflows into the throat, and leaks out—especially when the saw is sitting level overnight. You’ll smell raw gas and see wetness around the air filter housing.
Rebuilding involves removing the carb, disassembling it completely, and replacing gaskets, diaphragms, and the needle valve. Use a genuine STIHL rebuild kit (e.g., K10-HD) for best results. Aftermarket kits vary wildly in quality and fitment accuracy.
Clean every passage with carb cleaner spray. Compressed air helps blow out hidden crud. When reinstalling, set the metering lever to the factory-specified height (check your service manual)—this is critical for preventing future gravity-fed leaks.
If the MS390 gas leak persists after a rebuild, you might have a cracked carb body. That means replacement, not repair. Check carefully during disassembly for hairline cracks that aren’t obvious at first glance but allow fuel seepage under pressure.
Tank Vent Troubleshooting
Your tank vent (1117 350 5800) prevents vacuum buildup as fuel gets consumed. Without it, the engine starves. But a faulty vent can also push fuel out during tilts.
Locate the vent—it’s usually attached to the tank body near the top. Remove it and inspect for cracks or blockages inside the valve mechanism.
Try cleaning it first. Soak in carb cleaner for 10 minutes, then blow out with compressed air. If airflow doesn’t improve, replacement is necessary. Vents are cheap, so don’t waste time fighting a clogged one when a new part costs a few bucks.
Install the new vent and test immediately with the soapy-water pressure test. Proper venting should allow smooth airflow in both directions without resistance while still preventing liquid fuel from escaping when tilted sharply.
Primer Bulb Fixes
The primer bulb pushes fuel into the carb for cold starts. Over time, ethanol makes them brittle and cracked, leading to leaks during use or storage.
Remove the old bulb by loosening the retaining ring or screws holding it in place. Note the orientation—arrows on the bulb show fuel flow direction and must be reinstalled correctly.
Clean the mounting area and install the new bulb. Make sure it seats flush against the housing without gaps. Tighten the retaining ring just enough to secure it without crushing the soft rubber material.
Prime the saw a few times and check for leaks around the bulb connections. If fuel appears, you might have damaged gaskets underneath or installed the bulb backwards.
Don’t Forget the Impulse Line, Intake Boot & Seals
Backwards often masquerade as air leaks—and vice versa. The impulse line (runs from the crankcase to the carburettor pump) can crack and cause the carburettor to over-pump fuel out. Replace it with a carburettor if it’s stiff or split.
Inspect the intake boot (11an 27 141 2200) and its clamp. A loose clamp or a torn boot lets in too much air, leaning the mixture and often causing fuel to spit back through the carb throat. Tighten or replace it.
Finally, check the decompression valve and crankcase oil seals. If they leak air, the saw won’t run right, and the resulting pressure imbalance can make fuel leak from the carburettor or tank vent. A pressure/vacuum test of the entire carburettor is the only way to rule these out.
Keeping Your Saw Leak-Free
Run ethanol-free fuel whenever possible. Ethanol attracts moisture and breaks down rubber compounds from the inside—it’s the #1 killer of fuel lines, grommets, and primer bulbs. If you can’t find ethanol-free, use a high-quality fuel stabiliser every time you fill up.
Consider replacing standard rubber lines with Tygon tubing—it’s yellow, semi-transparent, and resists ethanol damage far better than the OEM black rubber. Many pro users swap to Tygon as a permanent upgrade.
Inspect your fuel system quarterly. Catch wear early before small problems become expensive repairs. Look at lines, grommets, caps, and bulbs each time you do routine maintenance or before the busy season starts.
Replace fuel components on a schedule, not just when they fail. Lines and grommets should be swapped every two years minimum. Caps and bulbs last longer but still age out eventually with regular exposure to fuel and weather.
Store your saw upright in a cool, dry place. Avoid leaving fuel in the tank long-term. Empty it before storage or add fuel stabiliser to prevent degradation that accelerates rubber. Call a Pro
If you’ve checked everything—fuel line, grommet, cap, needle valve, metering lever, impulse line, intake boot, decomp valve, seals, and done the pressure test—and the MS390 gas leak won’t quit, something deeper might be wrong. Cracked fuel tanks, damaged carb bodies, or warped sealing surfaces require professional diagnosis and repair.
Authorised STIHL service centres have specialised technicians. They also have specialised knowledge that isn’t obvious from general troubleshooting guides found online or in generic small engine repair manuals.
Some repairs just aren’t worth DIY effort. If you’re uncomfortable working with fuel systems or the fix requires expensive tools you’ll never use again, professional service makes financial sense. Weigh the repair cost against buying a new saw if the damage is extensive or the unit’s already old and worn throughout.
Final Thoughts
Gas leaks aren’t something to ignore or work around. They’re safety hazards, environmental problems, and performance killers all rolled into one annoying package nobody wants to deal with regularly.
Most Stihl MS390 gas leak issues trace back to worn fuel lines, bad grommets, cracked caps, or a stuck inlet needle valve. These fixes are cheap and doable in your garage with basic tools. Adding a pressure test with soapy water will pinpoint leaks instantly—it’s the pro trick that separates amateurs from experts. Don’t forget the air side: the impulse line, intake boot, decomp valve, and oil seals can all cause fuel to misbehave.
Stay ahead of problems with regular inspections, Tygon fuel lines, and ethanol-free gas. Your saw will run better, last longer, and keep you safe. That’s the real cheat code here—prevention beats repair every single time in the small engine game.