

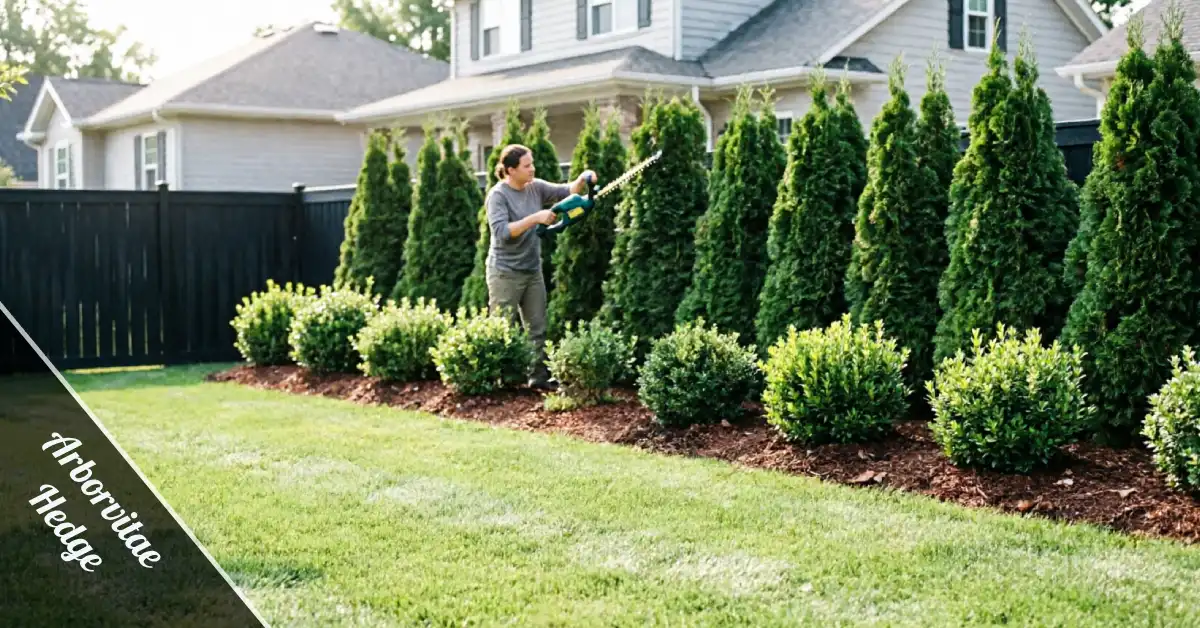
Privacy shouldn’t cost you a fortune or a decade of waiting. An arborvitae hedge gets you both fast growth and year-round green, no bare winter branches staring back at you. It’s the same logic as framing a garden bed with brick edging — the border does half the work of making the whole yard look intentional. Plant one row of arborvitae, space it right, and you’ve got a living wall that outworks a fence.
This guide covers everything from picking the right variety to keeping deer out come winter. You’ll get real spacing numbers, planting steps, and a maintenance schedule you can actually follow, not vague “plant in spring” advice that leaves half your questions unanswered.
Why It Works So Well for Privacy
Arborvitae grows dense from the ground up, not just at the top. That means no gaps at eye level, which is exactly where privacy actually matters. It holds its color through winter too, so you’re not staring at bare sticks from November to March. Most homeowners plant it once and never think about a fence again.
Compare that to deciduous screening plants, which drop their leaves right when coverage matters most. A row of arborvitae solves that problem for good. It also grows fast enough that most people see a usable screen within two to three years, not ten, which makes the upfront cost easier to justify.
Quick Reference: Arborvitae at a Glance
| Variety | Mature Height | Mature Width | Spacing | Best Use |
|---|---|---|---|---|
| Emerald Green | 12–14 ft | 3–4 ft | 3 ft apart | Narrow yards, tight side spaces |
| Green Giant | 40–60 ft | 12–20 ft | 6–8 ft apart | Large properties, fast screening |
| American Pillar | 15–20 ft | 3–5 ft | 3–4 ft apart | Formal, tidy privacy screens |
Best Varieties for an Arborvitae Hedge
Emerald Green is the go-to pick for smaller yards. It stays narrow, holds a tight shape, and doesn’t need much trimming to look sharp. Green Giant is the opposite move — it’s built for space and speed, adding two to three feet a year until it’s a full-blown wall. American Pillar splits the difference, giving you a formal, columnar look without the bulk.
Pick based on your space, not just what looks good in a nursery photo. A Green Giant planted along a small suburban lot line will eventually swallow the yard, block sunlight from neighboring beds, and cost real money to remove once it’s overgrown. Match the variety to the width you actually have, then let it grow into the job.
Understanding Hedge Height
Height depends entirely on the variety you choose, so check the label before you dig a single hole. Emerald Green tops out around 12 to 14 feet, plenty for most residential privacy needs. Green Giant keeps climbing well past 40 feet if you let it, so it’s better suited to farms or large lots than a standard backyard.
If you’re screening a two-story window, American Pillar or Emerald Green will get there without turning into a maintenance project. Save Green Giant for property lines, road noise, or acreage where size is the whole point.
Correct Spacing for an Arborvitae Hedge
Spacing makes or breaks the finished look of your hedge. Plant too close and roots compete for water, which stunts growth and invites disease. Plant too far apart and you’re left with gaps that defeat the whole point of a privacy screen. As a general rule, space your arborvitae hedge at a distance equal to roughly half its mature width.
Measure your full run before buying a single plant. A 30-foot fence line with Emerald Green spaced at 3 feet needs about ten plants, plus one extra to close any end gap. Buying short on plants is the most common spacing mistake, and it’s an easy one to avoid with basic math up front.
Choosing the Right Planting Location
Arborvitae wants full sun, at least six hours a day, to fill out properly. Soggy soil is the enemy here, so skip low spots where water pools after rain. Good drainage matters more than perfect soil quality, since arborvitae roots rot fast in standing water. Check your yard’s drainage the same way you’d check for the fungus and moisture issues covered in this guide on mushrooms showing up in your lawn — both problems trace back to water sitting where it shouldn’t.
Test drainage before you commit to a planting line. Dig a hole about a foot deep, fill it with water, and check back in an hour. If water is still sitting there, move your planting spot or build up the bed with raised soil before you start digging holes for good.
How to Plant an Arborvitae Hedge
Dig a hole twice as wide as the root ball but no deeper than it. Planting too deep is one of the most common mistakes, and it slowly suffocates the roots over time. Backfill with the same soil you dug out, water deeply, then add two to three inches of mulch around the base. Skip fertilizer at planting time; let the roots settle in first.
Watering and Feeding a New Hedge
New arborvitae needs consistent watering for the first two growing seasons while roots establish. Aim for about an inch of water per week, more during heat waves or drought stretches. Once established, arborvitae is fairly drought-tolerant and needs far less babying. Feed in early spring with a balanced, slow-release fertilizer made for evergreens.
Skip a heavy summer feeding. Fertilizing during peak heat pushes soft new growth that struggles in the sun and burns easily during dry spells. Stick to one spring application and a light check-in each fall to see if the soil needs anything before winter.
Arborvitae Hedge Trimming and Shaping
Trim in late spring or early summer, after the first flush of new growth hardens off. Light, regular trims keep the shape tight without shocking the plant. Never cut back into old, leafless wood, since arborvitae generally won’t regrow from bare branches. A well-maintained arborvitae hedge should taper slightly, wider at the base than the top, so sunlight reaches the lower branches.
Common Problems With an Arborvitae Screen
Bagworms and spider mites are the two pests that show up most often, usually in hot, dry summers. Brown, thinning patches almost always point to poor drainage or root rot from overwatering. Deer treat young arborvitae like a buffet, so fencing or repellent is worth it in rural or wooded areas. Catch these early, and your hedge bounces back fast.
Seasonal Care, Winter Protection, and Deer Damage
Wrap young hedges in burlap before the first hard frost if you’re in a colder zone. This stops “winter burn,” the bronze, scorched look that comes from cold wind drying out the foliage. Keep the base clear of competing weeds so your hedge isn’t fighting for nutrients all season. A quick pass with the organic methods in this guide to killing lawn weeds naturally keeps the area clean without risking chemical damage to your hedge roots.
Frequently Asked Questions
How fast does arborvitae grow once it’s planted?
Most varieties add one to three feet per year once established, with Green Giant on the faster end.
Can I plant arborvitae in partial shade?
It’ll survive, but growth slows, and the hedge fills in thinner. Full sun gives the best results.
How tall should my hedge be for privacy from a two-story window?
Aim for at least 12 to 15 feet, which usually means Emerald Green or a similar mid-height variety.
Do I need to fertilize every year?
A light spring feeding is enough once your hedge is established. Skip it entirely the first year after planting.