

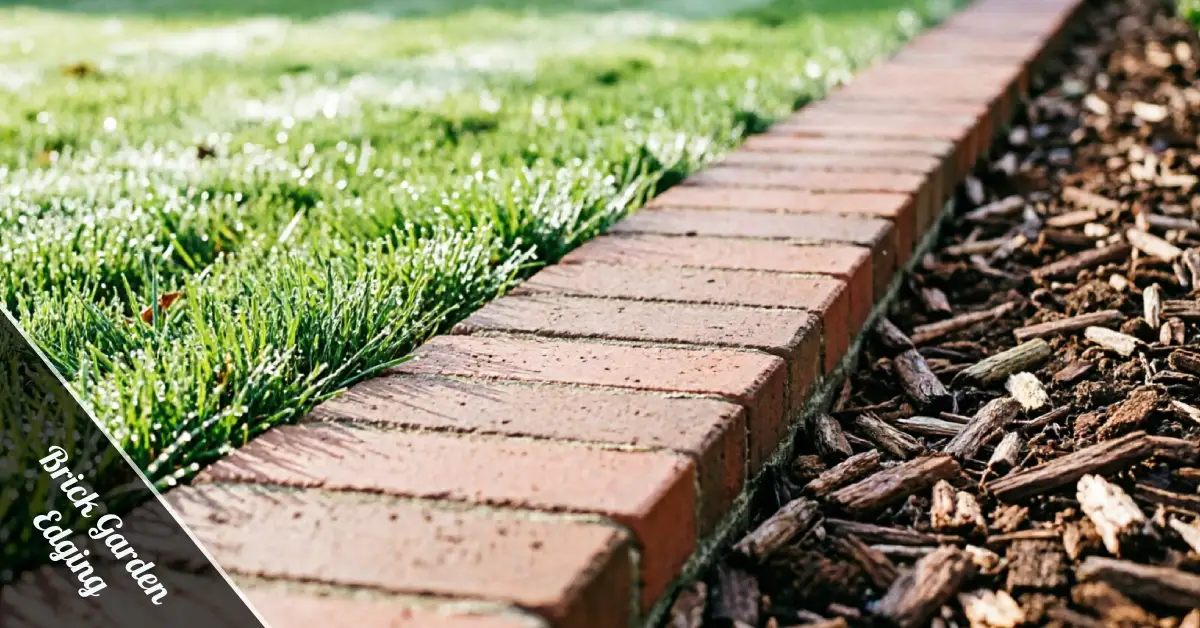
Ever notice how the best gardens have one thing in common? A clean, sharp border. Brick garden edging is the easiest way to get that look, and it lasts for decades if you do it right. This guide walks you through the design ideas, materials, and steps you need.
By the end, you will know exactly which bricks to buy, how to lay them, and how to keep your border looking sharp for years. No fluff, just the stuff that works.
Why Brick Beats Other Edging Options
This style of edging holds its shape better than plastic or metal strips. It does not warp in the sun or bend when your lawn mower bumps into it. That durability is why so many homeowners pick brick over cheaper options.
Bricks also give your yard a timeless look. Whether your home is a cottage or a modern build, red brick or clay pavers blend in without looking out of place.
There is a practical side too. A solid brick garden edging border keeps mulch and soil where it belongs instead of spilling onto your lawn every time it rains. If you are planning mulch beds nearby, it helps to know how many bags of mulch you will need per yard before you start digging your border line.
Picking The Right Bricks
Clay paving bricks are the classic pick. They are dense, weather-resistant, and come in shades from soft pink to deep red. Most last well past twenty years outdoors.
Concrete pavers cost less and come in more shapes. They work great for straight or sawtooth patterns, though they can fade a bit faster than clay over time.
Reclaimed bricks bring character to older homes. They carry small chips and color variation that make a garden border feel like it has always been there, even on a brand new house.
Whatever you choose, make sure the bricks are rated for outdoor use. Indoor bricks crack fast once winter frost and thaw cycles start working against them.
Brick Garden Edging Ideas Worth Copying
A raised brick edging border adds height and structure to flower beds. Stack two or three rows, and you get a mini retaining wall that also looks sharp from the street.
Curved brick edging softens a yard full of straight lines. It works especially well around trees, ponds, or circular flower beds where a sharp corner would look out of place.
Red brick edging paired with green lawn is a classic front yard combo. It photographs well, sells well if you ever list your home, and never really goes out of style.
A brick mowing strip is one of the most useful upgrades you can make. Lay bricks flush with the ground, and you can run your mower right over them, no trimming needed.
Popular Layout Patterns
The soldier-style layout stands bricks on end in a straight row. It is simple, clean, and works well for anyone edging a vegetable garden or straight path.
Sawtooth edging turns bricks on a diagonal so the corners point up like teeth. It adds texture and looks great against plain mulch beds or gravel paths.
Dry-laid brick edging skips the mortar entirely. Bricks sit tight against each other in a trench, held in place by compacted soil and gravity alone.
Planning Your Border Before You Dig
Before you touch a shovel, mark your border line with a garden hose or spray paint. This lets you see the shape and adjust it before committing.
Think about drainage while you plan. Water needs somewhere to go, especially after heavy rain, so check whether your yard needs a proper drainage swale running alongside or under your new border.
Measure the full length of your border and add ten percent extra bricks. Cuts, breaks, and mistakes happen, and it is cheaper to buy a few extra now than to reorder later.
Tools And Materials You Need
You will need a shovel, rubber mallet, level, string line, and a supply of bricks. Add a wheelbarrow if your border is longer than a few feet, since hauling material by hand gets old fast.
For the base, grab crushed stone, gravel, and bedding sand. These layers keep your bricks from shifting once the ground freezes and thaws through the seasons.
Polymeric sand is worth the extra cost for the joints. It hardens once wet, locking bricks in place and keeping weeds from pushing through the cracks.
Step-By-Step Installation Guide
Start by digging a trench about six inches deep along your marked line. Keep the sides straight so your border sits level once it is in the ground.
Add two inches of crushed stone and compact it firmly. This gravel base is what stops your bricks from sinking or tilting after the first hard rain.
Pour in a layer of bedding sand and smooth it flat with a board. This gives every brick the same starting height before you begin placing them.
Set your bricks one at a time, tapping each one with a rubber mallet to lock it into the sand. Check the line with string every few feet to keep things straight.
Once every brick is placed, sweep polymeric sand into the joints and mist it lightly with water. Let it cure overnight before you walk on your new border.
Installing Curved Brick Edging
Curves take more patience than straight lines, but the payoff is worth it. Use a garden hose to shape your curve first, then cut bricks to follow that exact line.
A wet saw makes clean cuts on curved sections. Dry cutting throws dust everywhere and wears down your blade twice as fast, so keep a hose running while you work.
What It Costs And Where To Buy
Basic clay bricks run a few dollars each, while decorative pavers cost more per square foot. A full weekend project usually lands in the low hundreds for materials alone.
Home improvement stores stock standard clay and concrete bricks in bulk. Local landscape supply yards often carry reclaimed and specialty bricks that big box stores skip.
Keeping Your Border Looking Sharp
Rinse your brick garden edging every few weeks to keep dirt and grass clippings from building up in the joints. A quick spray with a retractable hose reel makes this a two-minute job instead of a chore you keep putting off.
Pull weeds by hand as soon as you spot them. Left alone, roots work into the joints and can push bricks out of alignment within a single season.
Freeze-thaw cycles are the biggest threat to any brick border. Check each spring for bricks that have shifted and reset them before the gap gets worse.
Common Mistakes To Avoid
Skipping the gravel base is the number one mistake homeowners make. Bricks laid straight on soil will sink and tilt within a year, no matter how well you place them.
Using indoor bricks outdoors is another costly error. They crack under freeze-thaw pressure fast, and you will end up replacing your entire brick garden edging border sooner than expected.
Front Yard Versus Backyard Edging
Front yards usually call for a neater look, since this is the first thing guests and buyers notice. Straight soldier-style rows or a red brick border along the walkway keep things sharp and welcoming.
Backyards give you more room to experiment. Curved beds, raised borders around a fire pit, or a mowing strip around a vegetable patch all work well once you are out of street view.
Either way, match your brick color to your house trim or roof for a pulled-together look. It is a small detail that makes a big difference once the whole yard comes together.
FAQs
Can I install brick garden edging without mortar?
Yes. Dry-laid bricks set in compacted gravel and sand hold up fine for most home borders.
How deep should the trench be?
Five to six inches works for most yards. Go deeper if your soil freezes hard.
What is the best brick for edging?
Clay bricks resist fading, cracking, and frost damage better than most concrete options.
Will brick edging stop grass from spreading?
Yes, as long as the bricks sit deep enough to block roots and runners.
How long does brick garden edging last?
With a solid gravel base, it can easily last twenty years or more.